This is a very long, wordy post. It is that way because it starts with a wordy description of terms. But the goal of the post is to present a simple data structure to define timing, effects and switches that can be used by musicians and equipment to program command streams to send to equipment. Feel free to to the the conclusion and read more about the data structure itself.
I want to be able to send any number of several types of commands when a switch is pressed on my pedal board. Let’s look at the structure of the data for a particular board.
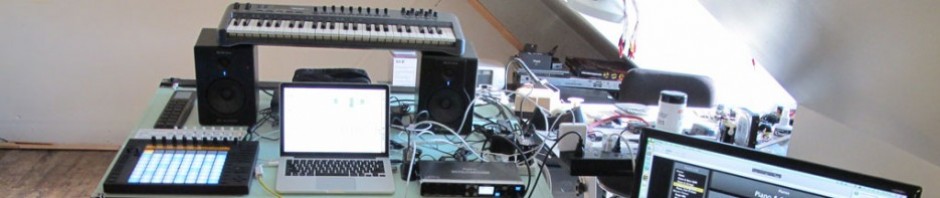
There is always a finite number of switches/pedals/controls. The PU-1 has 9 switches, two expression pedals (variable values), and one rotary encoder. These define the physical layer of the data structure.
Each switch can be assigned any number of commands. This is the action layer of the data structure.
Each command/switch association can be executed is any order, according to the intention of the user. This is the timing layer of the data structure.
Some existing implementations are using terms like “concert”, “set”, “pieces”, “tunes” to define the various timing elements of a performance. I want to avoid terminology confusion by using a simple data structure. Let’s look at a familiar and simple example:
EXAMPLE
A guitarist is starting a concert with a tune called “for simplicity’s sake”. He starts playing a rhythm using a “low level, crunchy” effect. He the switches to a “stighly louder, velvety” effect. The guitar solo starts. The guitarist switches to a “clean loud” sound. He then “adds a strong reverb effect with a delay”. The guitarist goes out of solo mode, alternatively playing the first and second effects defined above until the end of the tune.
Then, the second tune starts. It’s called “give me a brake”. The guitarist starts with an easy rhythm, using the same “low level, crunchy” effect. His solo part calls for a “strident, 2 octave up, distorted” sound. After the solo, it’s back to the first sound until the end of the tune.
If we look at the data structure behind this, we can simplify it by using a more logical notation, like:
for simplicity's sake
   beginning
      low level, crunchy
      slightly louder, velvety
   Solo
      clean loud
      add strong reverb and delay
   End
      low level, crunchy
      slightly louder, velvety

give me a brake
   Beginning
      low level, crunchy
   Solo
      strident, 2 octave up, distorted
   End
      low level, crunchy
This notation makes timing more evident. We can follow the sequence of events easily. Let’s add some formal notation:
1. for simplicity's sake
   1.1 beginning
      1.1.1 low level, crunchy
      1.1.2 slightly louder, velvety
   1.2 Solo
      1.2.1 clean loud
      1.2.1 add strong reverb and delay
   1.3 End
      1.3.1 low level, crunchy
      1.3.2 slightly louder, velvety

2. give me a brake
   2.1 Beginning
      2.1.1 low level, crunchy
   2.2 Solo
      2.2.1 strident, 2 octave up, distorted
   2.3 End
      2.3.1 low level, crunchy
Looking at this, one could easily sort a list of “commands” and play everything in the right order. Timing can then be expressed as an ordered (sorted) list of events, and although order is important, there is no real-time reference.
Each action in our list can be identified too. Let’s rewrite our example like this:
1. for simplicity's sake
   1.1 beginning
      1.1.1 A.B. low level, crunchy
      1.1.2 C.D. slightly louder, velvety
   1.2 Solo
      1.2.1 E. clean loud
      1.2.1 F,G. add strong reverb and delay
   1.3 End
      1.3.1 A,B. low level, crunchy
      1.3.2 C,D. slightly louder, velvety

2. give me a brake
   2.1 Beginning
      2.1.1 A,B. low level, crunchy
   2.2 Solo
      2.2.1 H,I,J. strident, 2 octave up, distorted
   2.3 End
      2.3.1 A,B. low level, crunchy
This way of looking at the sequence of events allows us to identify actions, or changes in the sound during the performance. Actions are not an ordered list and their timing is given by the numbers in front of them. Actually, in our example, you can see that certain effects are repeated more than once (as A and B are).
Lastly, if you are a musician given the list above, you will want to know which switch to press to change the effects. You want to know the location, the exact spot. Lets re-post that list again, with an indicator showing the physical reference of each necessary change in sound:
1. for simplicity's sake
   1.1 beginning
      1.1.1 A,B. S.1 low level, crunchy
      1.1.2 C,D. S.2 slightly louder, velvety
   1.2 Solo
      1.2.1 E. S.3 clean loud
      1.2.1 F,G. S.4 add strong reverb and delay
   1.3 End
      1.3.1 A,B. S.1 low level, crunchy
      1.3.2 C,D. S.2 slightly louder, velvety

2. give me a brake
   2.1 Beginning
      2.1.1 A,B. S.1 low level, crunchy
   2.2 Solo
      2.2.1 H,I,J. S.2 strident, 2 octave up, distorted
   2.3 End
      2.3.1 A,B. S.1 low level, crunchy
Now, we can look at this list and know exactly when, what change in sound will be produced by pressing where.
WHEN, WHAT, WHERE (CONCLUSION)
Let’s go through the beginning of the first tune again. At time 1.1.1, we want effects A and B to be activated by pressing switch S-1. If we remove the text, we get
when, what, where, description
1.1.1,A B,S.1, “low level, crunchy”
or, in a more conventional format:

Using this notation is actually a little bit more involved than what is presented here. Examples will be presented in a subsequent post. Also note that the structure is totally arbitrary. Instead of A & B, the effects in the “what” column could be 1-2, or 1.2, or 1&2. The switches could use letters or numbers, etc. The way each “effects” is defined is also arbitrary. AB might as well be just A, where A is one effect, producing the two sub-effects.